How to use AKAI MPC

Beatmake flow with AKAI MPC
General beatmake flow with use AKAI MPC.
Step.1 Connection AKAI MPC and each equipment
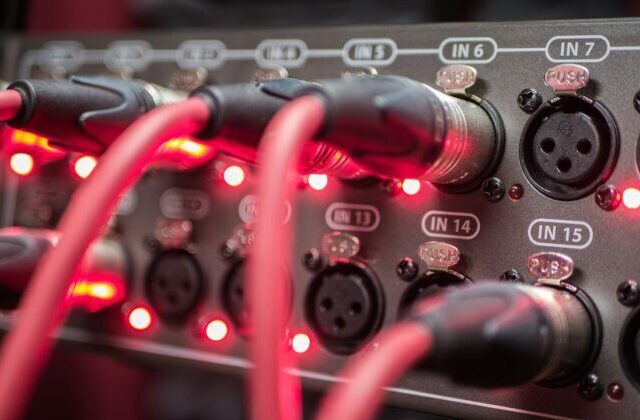 1st of all, you need connect AKAI MPC and each equipments with cable. AKAI MPC and Turn table (Mixer), AKAI MPC and monitor speaker.
Step.2 Sampling
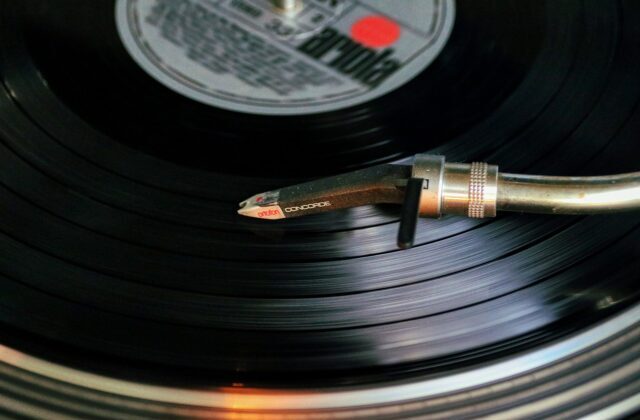 You finished connect AKAI MPC and each equipment, next is sampling.You certainly can do sampling from analog record. And you can do “Self sampling”.
Step. 3 TRIM
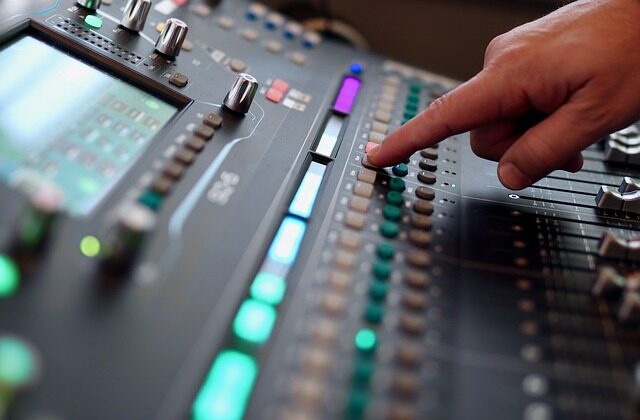 You finished sampling, next is “TRIM”. TRIM section can cut the needles piece of sample source. And edit the sample source.
Step.4 Assign samples to each PAD
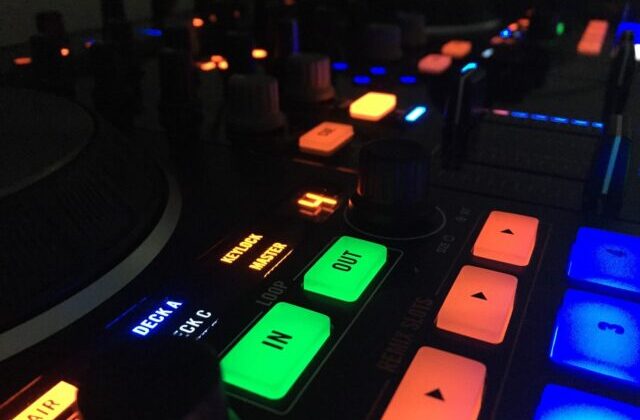 You finished “TRIM”, next is “Assign”. Assign samples to each PAD and make PROGRAM.
If you save PROGRAM, you can load it next time.
Step.5 Make Sequence
 You finished assign samples to each PAD, next is make “Sequence”. Sequence is loop of few bars. And you make track with it.
Step.6 Make Song
 You finished make all sequences, next is song.まとめ終えれば、トラックは完成。
Other bearing posts
AKAI MPC 使用方法関連記事一覧
Connection w/ Turn table (or Mixer) »
Connection w/ monitor speaker »
About each operation of TRIM. Activation method of Q-LINK
各パッドへの音(サンプル)の割り当て&プログラム(PROGRAM)作成方法 »
シークエンス作成方法、各トラックへのリアルタイム録音方法 »
ソング(Song)作成方法 »
トラックのWAVファイル化 »

 画面の見方
画面の見方 Date save and load
 GAIN
GAIN 16 LEVEL
 Effect(FX)
 SLIDER